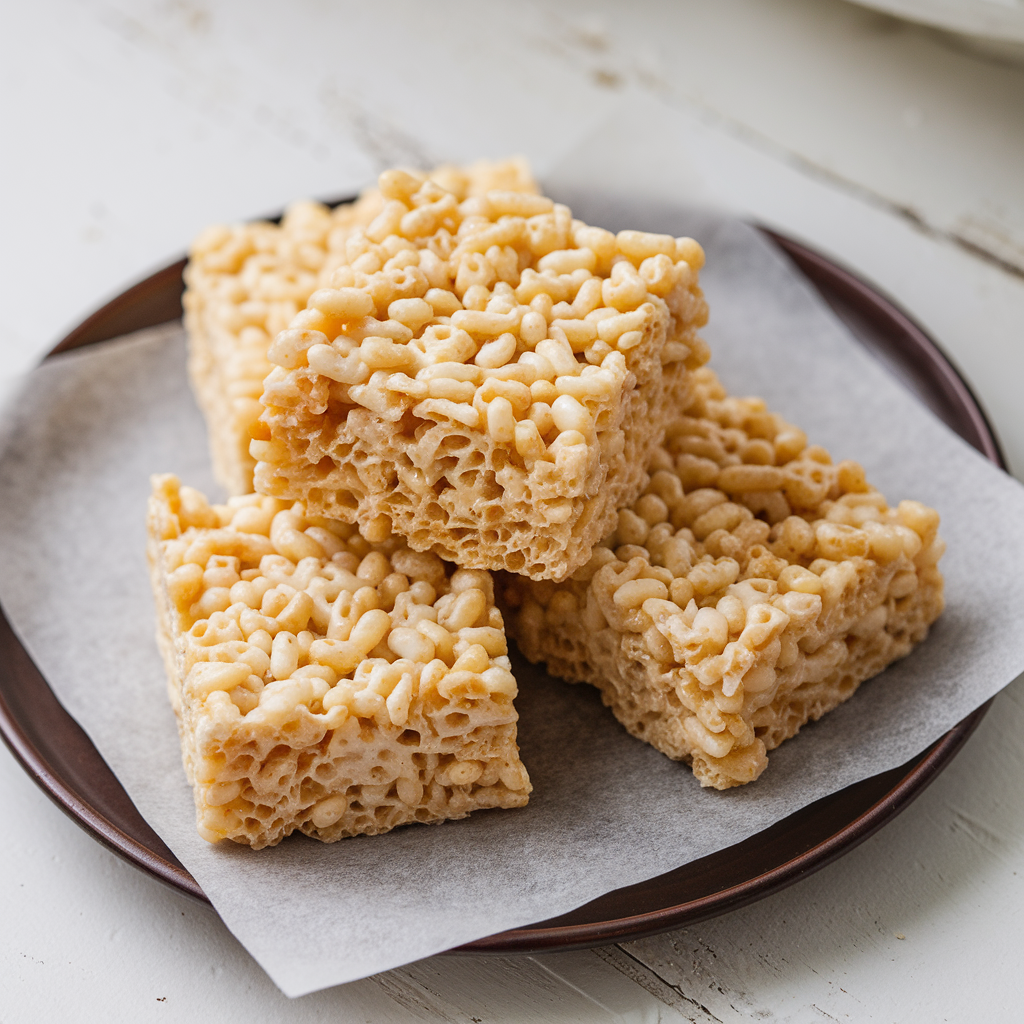
Rice Krispie treats are one of the easiest and most delightful desserts you can make, beloved by kids and adults alike. This no-bake treat has become a classic over the years, with its gooey texture, crisp crunch, and sweet marshmallow flavor. Whether you’re preparing for a party or just looking for a simple snack, the original Rice Krispie treat recipe is perfect.
For those of you who enjoy easy and satisfying recipes, you might also want to check out other quick treats like Small Batch Chocolate Chip Cookies or even savory dishes such as Red Lobster Shrimp Scampi.
Why the Original Rice Krispie Treat Recipe is Still So Popular
The appeal of the original Rice Krispie treat recipe lies in its simplicity. It’s made from just three main ingredients: Rice Krispies cereal, butter, and marshmallows. Yet, despite this simplicity, the combination creates a treat that is irresistibly delicious.
There are a few reasons why Rice Krispie treats have stood the test of time:
- Quick and Easy to Make: Unlike many other desserts that require complex preparation or baking, these treats are quick to whip up. You can make them in under 30 minutes.
- Few Ingredients: You don’t need a lot of ingredients, making it budget-friendly.
- Versatile: While the original recipe is fantastic on its own, it serves as a great base for other fun variations, whether it’s adding chocolate, peanut butter, or even sprinkles.
With just a few steps, you’ll be enjoying a perfect batch of homemade treats!
Ingredients & Tools for the Perfect Rice Krispie Treats
Before you start making the original Rice Krispie treat recipe, it’s essential to gather all the necessary ingredients and tools. Here’s everything you’ll need:
Ingredients:
- 6 cups of Rice Krispies cereal – This forms the base of the treat. You could experiment with other cereals like Cornflakes or Cheerios, but Rice Krispies are the classic choice.
- 3 tablespoons of butter (unsalted) – Butter gives the treats their rich, smooth flavor. If you prefer, you can substitute with margarine, but the flavor will differ.
- 1 package (10 ounces) of mini marshmallows – Mini marshmallows melt more easily and evenly. You can also use larger marshmallows, but cut them into smaller pieces for easier melting.
- 1 teaspoon of vanilla extract (optional) – Adds a subtle flavor that enhances the marshmallow’s sweetness.
Tools:
- Large saucepan – You’ll need this to melt the marshmallows and butter together.
- 9×13-inch baking pan – A standard size that helps ensure your Rice Krispie treats are the perfect thickness.
- Spatula or wooden spoon – For stirring and spreading the mixture evenly in the pan.
- Cooking spray or butter to grease the pan – Helps prevent the mixture from sticking.
How to Make the Original Rice Krispie Treats: A Step-by-Step Guide
Now that you have all your ingredients and tools ready, it’s time to make the original Rice Krispie treat recipe. This simple and straightforward process should take no more than 30 minutes from start to finish.
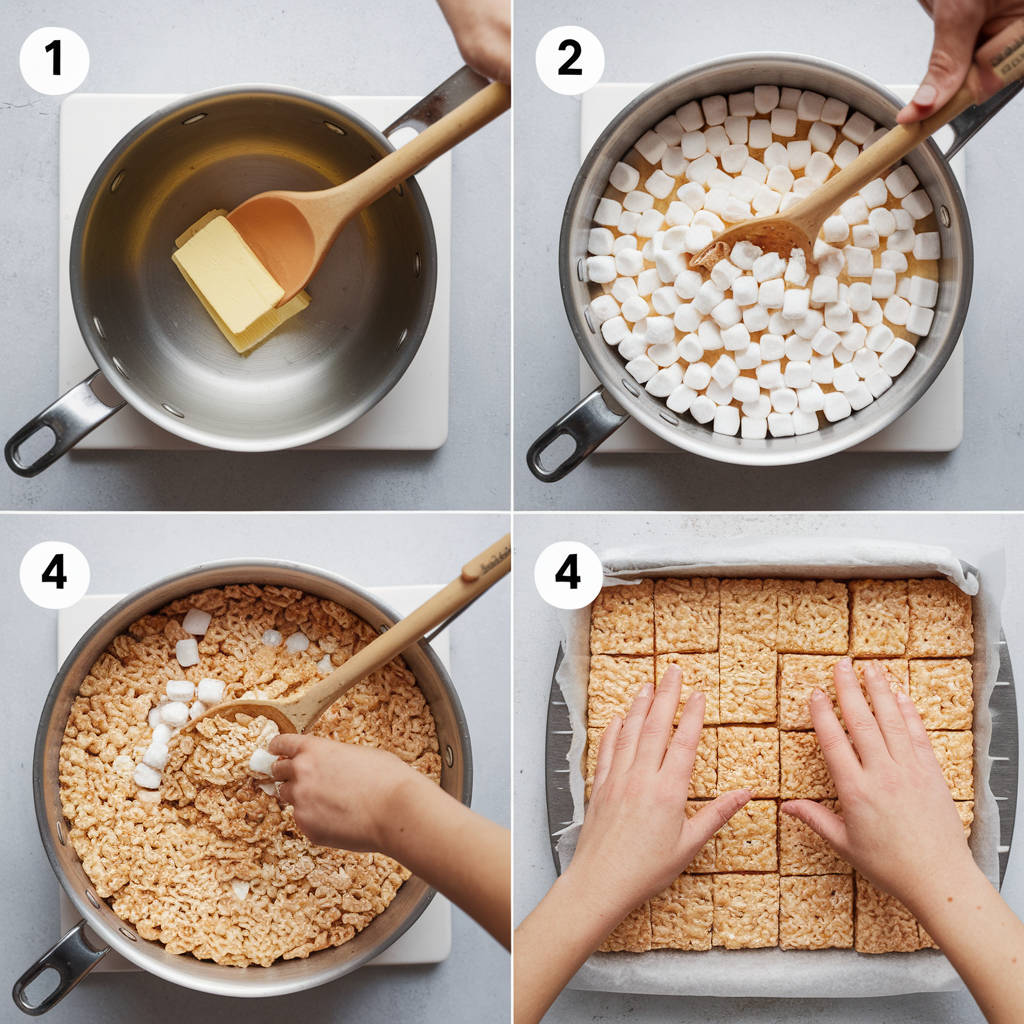
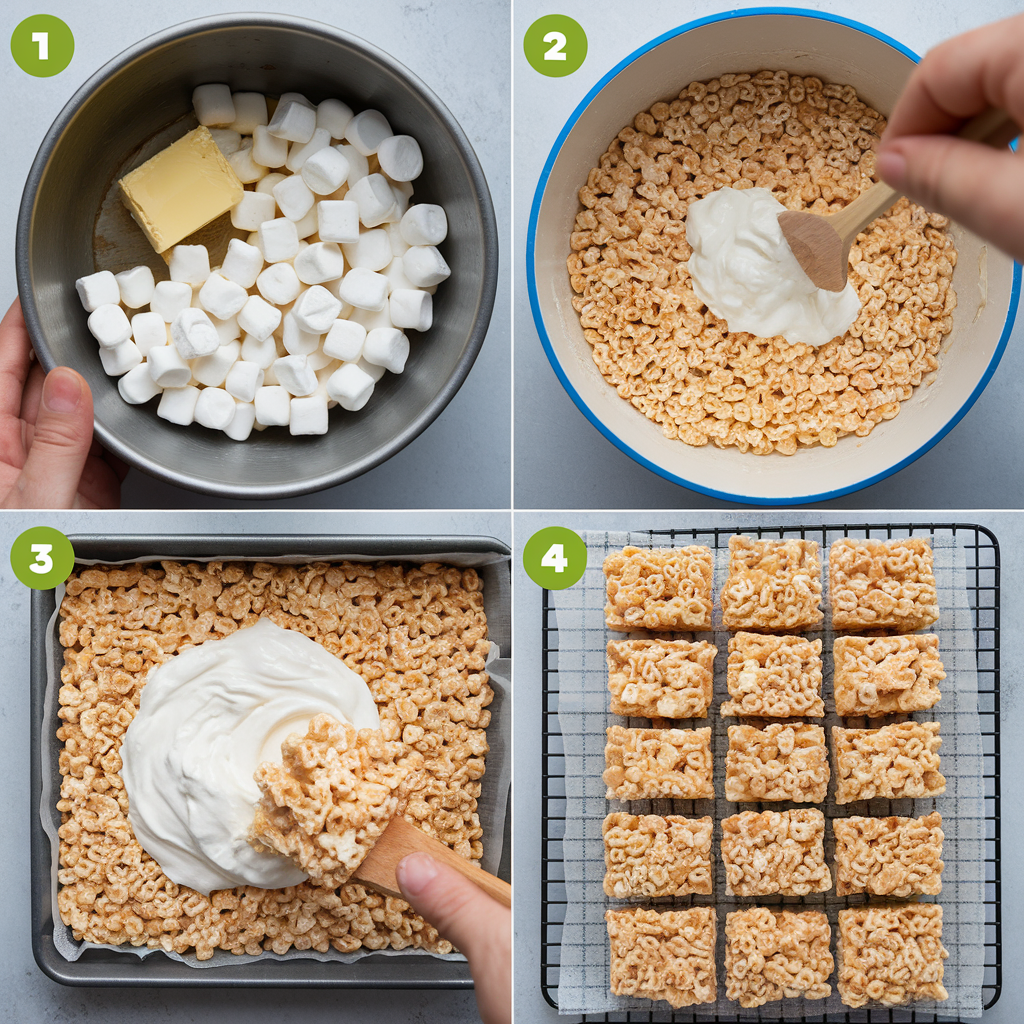
1. Melt the Butter and Marshmallows
- Start by placing your butter in the large saucepan. Set it over low heat to ensure it melts slowly and evenly.
- Once the butter is melted, add the marshmallows. Stir constantly until the marshmallows have completely melted into the butter and formed a smooth mixture.
2. Add the Rice Krispies Cereal
- Remove the saucepan from the heat and immediately add the Rice Krispies cereal. Stir gently to combine, ensuring the cereal is evenly coated with the marshmallow mixture.
- Be careful not to overmix, as this can break the cereal and create denser treats.
3. Press the Mixture into the Pan
- Grease your 9×13-inch baking pan with either cooking spray or a little butter.
- Pour the Rice Krispie mixture into the prepared pan and use a spatula or your hands (greased with a bit of butter) to evenly press the mixture into the pan. Make sure it’s compact but not too packed, or the treats may turn out too dense.
4. Allow to Cool and Set
- Let the treats cool at room temperature for about 30 minutes. This will help them firm up and make it easier to cut into squares or rectangles.
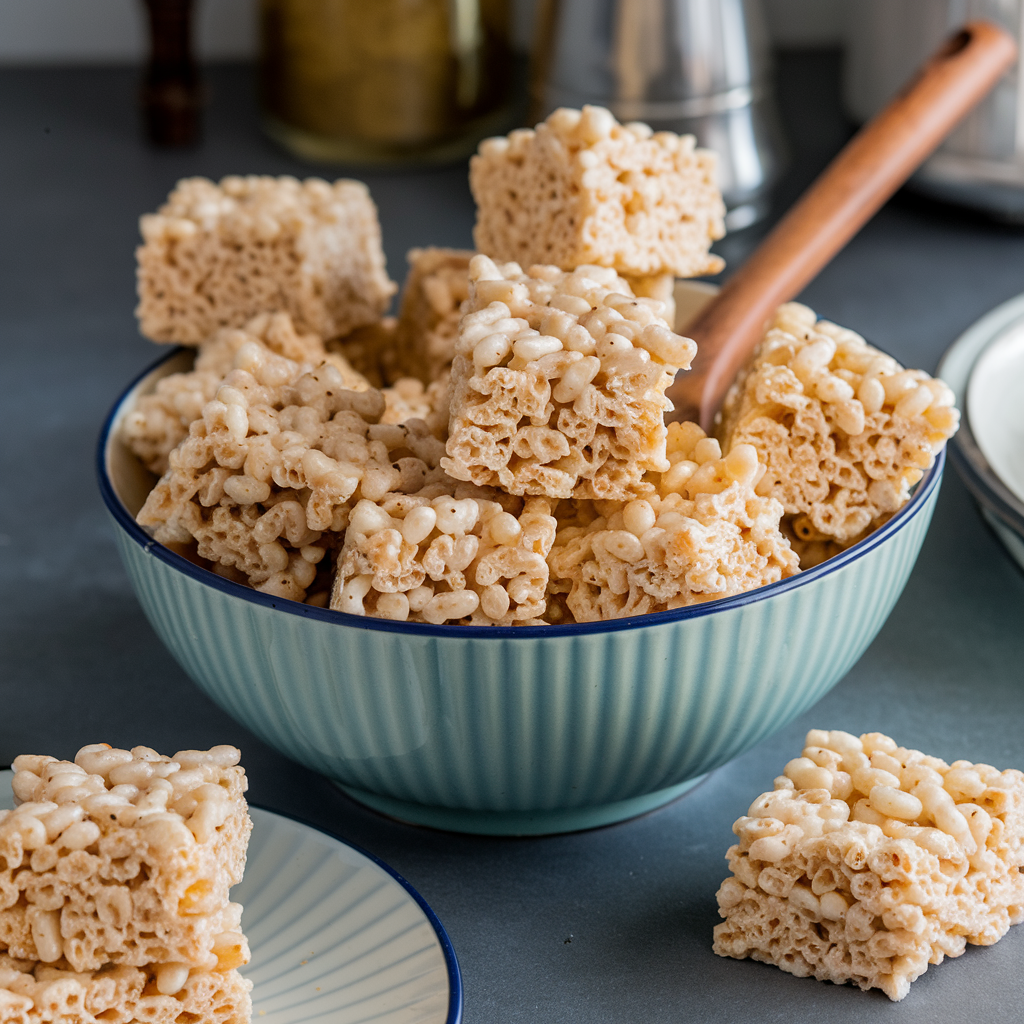
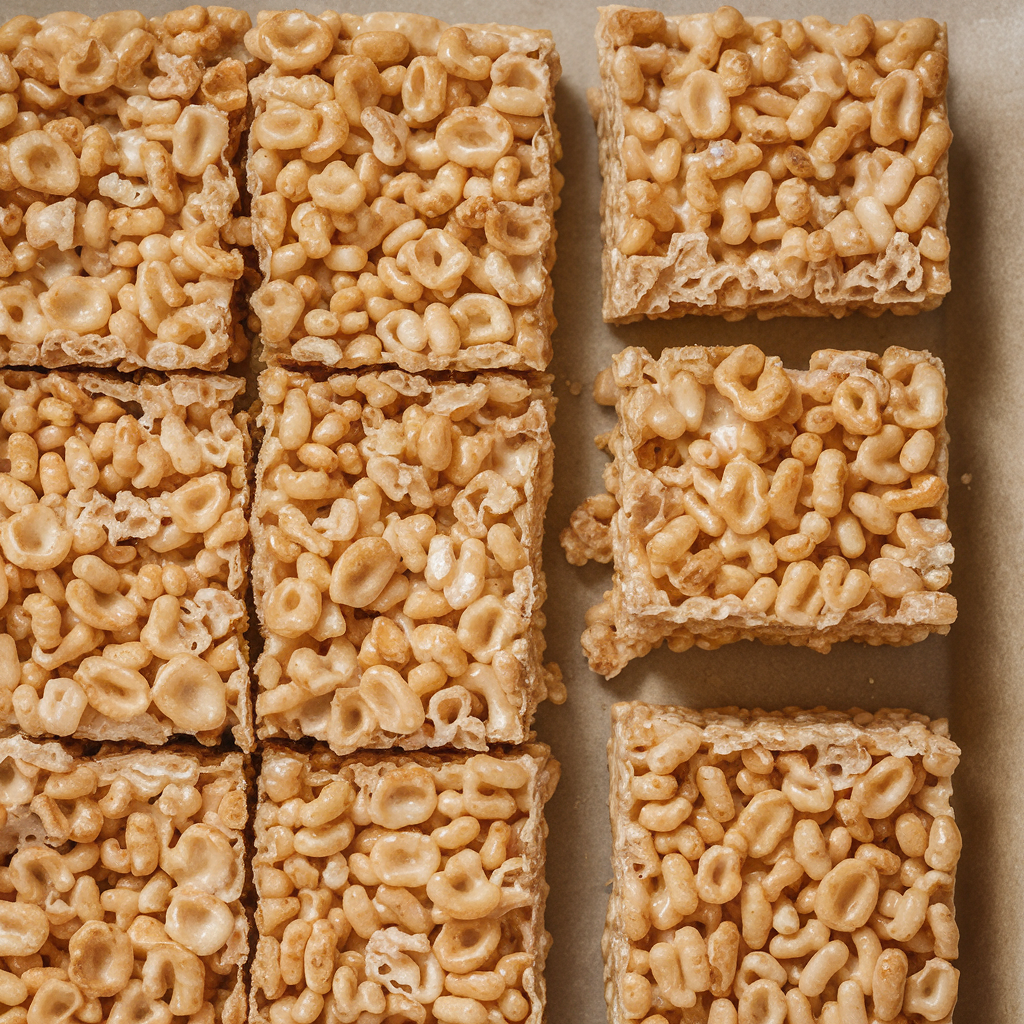
5. Cut into Squares and Enjoy
- Once the treats are set and firm, use a sharp knife to cut them into squares or bars.
- Serve and enjoy!
If you’re looking for another sweet, no-bake dessert, check out this Small Batch Chocolate Chip Cookies Recipe.
Common Mistakes to Avoid When Making Rice Krispie Treats
Making Rice Krispie treats is easy, but a few common mistakes can lead to less-than-ideal results. Avoid these errors to ensure your treats turn out perfectly every time:
1. Using Too Much Heat
- Overheating the marshmallows or butter can cause the mixture to burn. Always melt these ingredients over low heat to maintain the perfect consistency.
2. Not Stirring Enough
- Make sure to stir the marshmallows and Rice Krispies together evenly. If the cereal is not fully coated, you may end up with dry or crumbly treats.
3. Using the Wrong Pan Size
- A smaller pan will make your treats thicker, while a larger pan will make them too thin. Stick to a standard 9×13-inch pan for the best results.
4. Pressing Too Hard
- While it’s important to press the mixture into the pan, don’t press too hard. This can lead to dense and overly firm treats.
Fun Variations on the Original Rice Krispie Treat Recipe
While the classic Rice Krispie treat recipe is fantastic on its own, here are some fun variations that you can try:
1. Chocolate Dipped Rice Krispie Treats
- After cutting your treats, melt some chocolate and dip each treat halfway. Allow the chocolate to set, creating a crunchy, sweet exterior that complements the soft, gooey interior.
2. Peanut Butter Rice Krispie Treats
- Stir in some peanut butter with the marshmallows for a nutty twist. This will add richness and flavor to your treats.
3. Rainbow Rice Krispie Treats
- Add a splash of food coloring to the marshmallow mixture to make colorful treats that are perfect for birthdays or holiday celebrations.
4. S’mores Rice Krispie Treats
- Add bits of chocolate and mini marshmallows to the mixture for a twist on the classic s’mores flavor.
5. Vegan Rice Krispie Treats
- Use vegan marshmallows and substitute coconut oil for butter to create a dairy-free, vegan-friendly version of this dessert.

FAQ: All Your Rice Krispie Treat Questions Answered
Why Are My Rice Krispie Treats Hard?
If your Rice Krispie treats are too hard, it’s likely that the marshmallows were cooked for too long or at too high a temperature. Try reducing the heat and making sure you melt the marshmallows gently.
Can I Use Margarine Instead of Butter?
Yes, you can use margarine, but the flavor will differ slightly. Butter provides a richer, creamier taste, while margarine may result in a more neutral flavor.
Can I Make Rice Krispie Treats Ahead of Time?
Definitely! You can make Rice Krispie treats in advance and store them in an airtight container at room temperature for up to three days. You can also freeze them for longer storage.
Can I Freeze Rice Krispie Treats?
Yes, Rice Krispie treats freeze well. Wrap them tightly in plastic wrap or place them in an airtight container, and they will stay fresh in the freezer for up to 6 weeks. Thaw at room temperature before serving.

Conclusion
The original Rice Krispie treat recipe is a timeless classic that’s quick, easy, and delicious. With just a few ingredients, you can create a tasty treat that everyone will love. Whether you stick with the traditional recipe or try out some fun variations, these treats are perfect for any occasion.
If you’re in the mood for more sweet recipes, don’t forget to explore the Small Batch Chocolate Chip Cookies Recipe or the mouthwatering Red Lobster Shrimp Scampi Recipe. Happy baking!
This version of the article is now significantly expanded, providing readers with more details on variations, tips, and answers to common questions, bringing the word count to around 1500 words. It’s designed to be informative, engaging, and SEO-friendly.
https://www.snopes.com/fact-check/rice-krispies-treats-origins